Donation Forms
Donation forms are the most popular option for GivingTuesday with a modern and simple design that’s easy to get up and running in less than 10 minutes. When promoting your GivingTuesday campaign via email and social media, directing donors to a simple form that is solely focused on the donation (without additional content, menu items, pop-ups, etc.) keeps the focus on the call to action: donating to your nonprofit.
How to Set Up a GivingTuesday Donation Form
Nonprofits can now create an unlimited number of donation forms to grow donations. Donation forms automatically apply your nonprofit’s branding and custom domain or subdomain, giving your nonprofit a 100% white-label solution to collect donations.
Donation forms are both powerful and easy to create so that your nonprofit can raise more and save time.
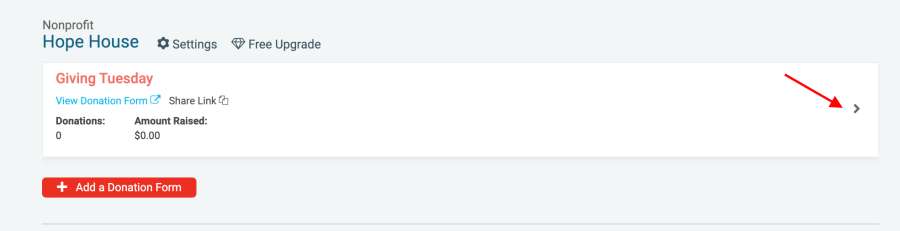
1. Visit GiveSignup.org
This brings you into a wizard where you'll create the donation form.

First, add the nonprofit's name and a general contact email. Then, add the name of your campaign, such as “GivingTuesday,” “Sponsor a Student," etc. If you are using the form for general donations, you can simply use your nonprofit’s name as the "Donation Form Name." An end date is not required, but if your campaign is time limited, you have the option to add an end date.
Next, add a donation message. Then, you'll select which giving options you would like to include on the donation form. In the example below, I only want to allow my donors to make one-time or monthly donations:
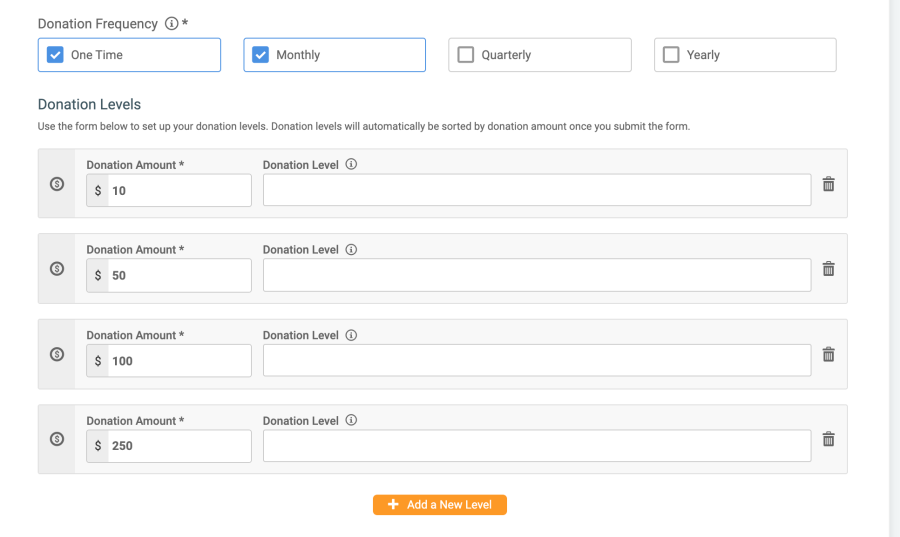
- You can customize the donation levels for the form.
- You can add a description that is unique to your campaign or simply add your nonprofit’s mission statement.
- At the bottom of the page, you will agree to the contract and continue to the next step of the wizard.
2. Branding
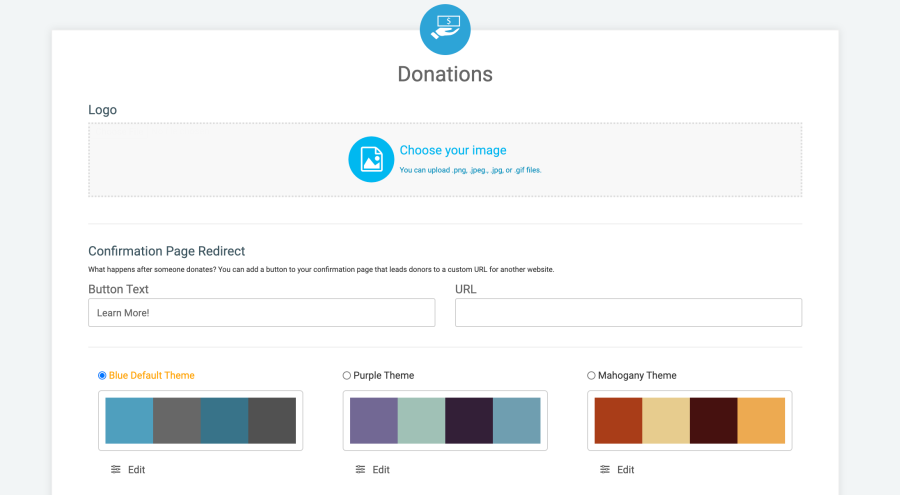
Add a logo for your campaign. This can be your logo or an image that’s unique to the specific campaign. Please note that square images will work best here, as the logo appears in a circle (like your profile picture on Facebook).
You can also add a button link to the confirmation screen for your donation form to redirect donors back to your donation website, to your main nonprofit website, to a video, to your Facebook page, or anywhere else.
Select a color scheme from our preset themes or add your own colors.
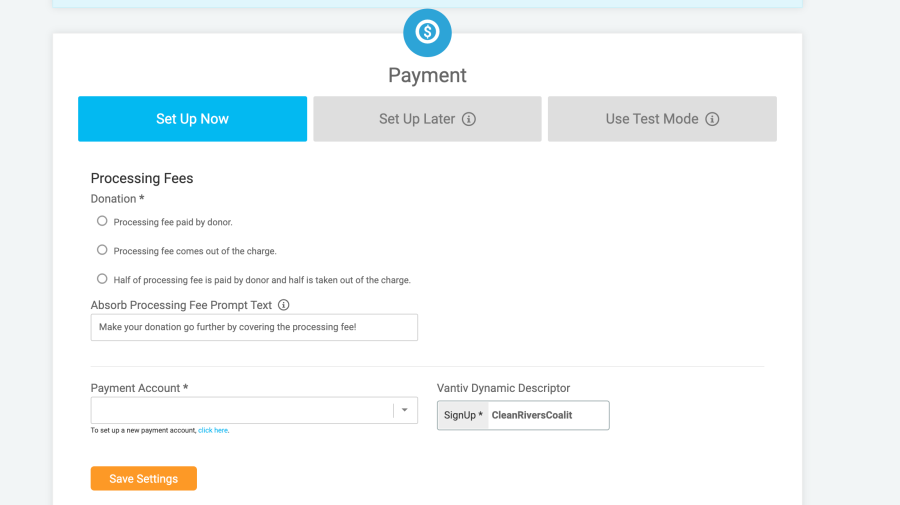
3. Next, add your payment account
You can either add an existing GiveSignup | RunSignup payment account, create a new one, or send an invite to someone else in your organization (financial officer, treasurer, etc.).
4. Your donation form is created!
You can easily share the URL on social media and email campaigns, add as a link URL to a donate button on your own websites, or add as a link to a call-to-action button in an email campaign.
When someone donates and clicks "Continue," they will enter their payment information:
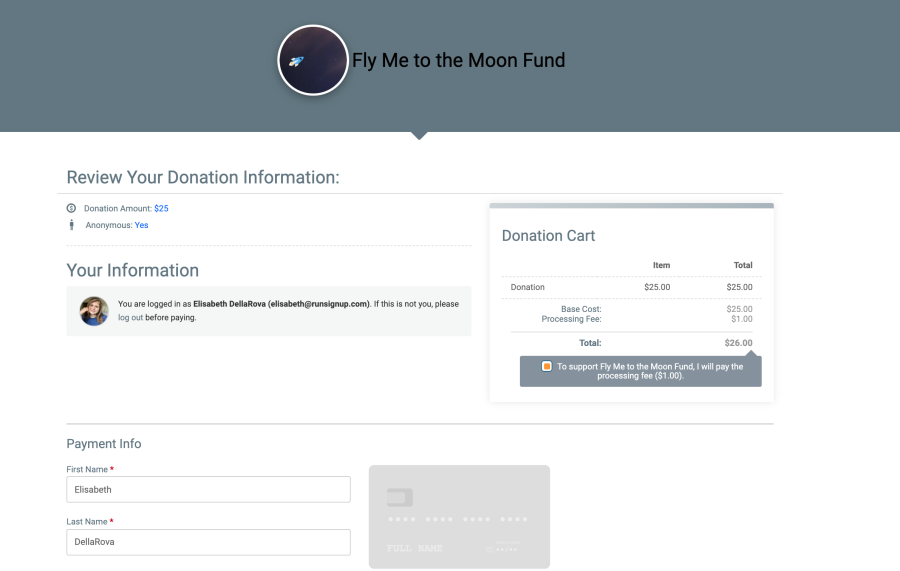
When payment is confirmed, the donor will see a thank-you window. They will also receive a donation confirmation email that they can use as a tax-deductible receipt. Your donation confirmation email can be customized by going to Donation Website >> Notifications.
5. If you need to edit a donation form, go to "My Donation Forms" by clicking on your profile icon while logged in

This will take you to a page where you can view reports for your forms or edit them.

You can enable a couple of extra settings here, like use designations and e-cards.
To see additional instructions for creating donation forms from an existing donation website, click here.